![]()
A. Grounding
A photographic paper is made of a layer of a photosensitive substrate: the photographic emulsion that is coated on a piece of paper. Once exposed to light it needs to be chemically 1. developed and 2. desensitized to light in order to 1. render the image and 2. make it permanent. We can then obtain what is known as a print, hence the name “print paper” as such papers are mostly used to produce photographic prints.
A print can be direct, in the case of a photogram, or indirect when an image formed on another medium is used, in the case of a print made from a film negative. There are several printing methods, both direct and indirect, I’ll come back to those later on. For the time being let’s start with black and white photographic paper 101.
B. The photosensitive emulsion
There are two main types of emulsions:
- The negative emulsion: it’s by far the most well-known, producing a negative image i.e. only the parts of the emulsion exposed to light get darker.
- The positive emulsion: producing a positive image i.e. only the parts of the emulsion not exposed to light get darker.. Its use remains marginal
When the emulsion is coated on a white paper we get a black image, for the parts of the emulsion that went dark, and white, for the parts of the emulsion that remained undarkened. These ones remain transparent. All the tones in between these two extreme values are obviously rendered depending on the level of darkening of the emulsion which makes it more or less transparent.
It’s true for standard photographic paper of point 1. (negative emulsion) that is used with a negative. Indeed a negative image, printed on a negative paper yields a positive image. And it’s also true of point 2. (positive emulsion) – direct positive paper – that is used directly in a pinhole camera for instance, or in any other type of camera for that matter in order to obtain a positive image without going through intermediary steps.
The silver gelatin emulsion ins and outs, whether be it of a photographic paper or a negative film, are pretty much governed by the same chemical reactions that I described in this post: Film processing chemistry, how does it work? The processing is very similar, but I’ll come back to that later on.
There are several types of black and white photographic emulsions, mainly we have:
Silver chloride [AgCl] emulsions. They are very slow (low sensitivity to light) and mainly used for contact printing works with long exposure times. Their sensitivity is limited to UV light and violet. Their tonal range is enormous and very gradual. Some claim their tonal range even goes beyond those of Platinum prints! On top of that they have excellent contrast in the mid tones. They yield prints with a noticeable warm cast.
Almost every great photographer from the 20th century from the 20ies to the 50ies used this type of emulsion, all but forgotten by now. The famous AZO paper from Kodak is no longer produced, but there is a couple (literally) of believers who are pumping some life into it under the name Lodima.
Silver Bromide [AgBr] emulsions. They are very fast (very sensitive to light). Their sensitivity widens almost up to green light. They tonal range is shorter and cannot rival the one offered by Silver Chloride emulsions. They print with a neutral to cold cast.
Chlorobromide emulsions. They are sensitive enough to allow working under the enlarger which requires relatively short exposure times. These are the emulsions we can find in all photographic papers nowadays. Clearly the intention was to preserve the qualities of both components, but obviously this is a game of give and take.
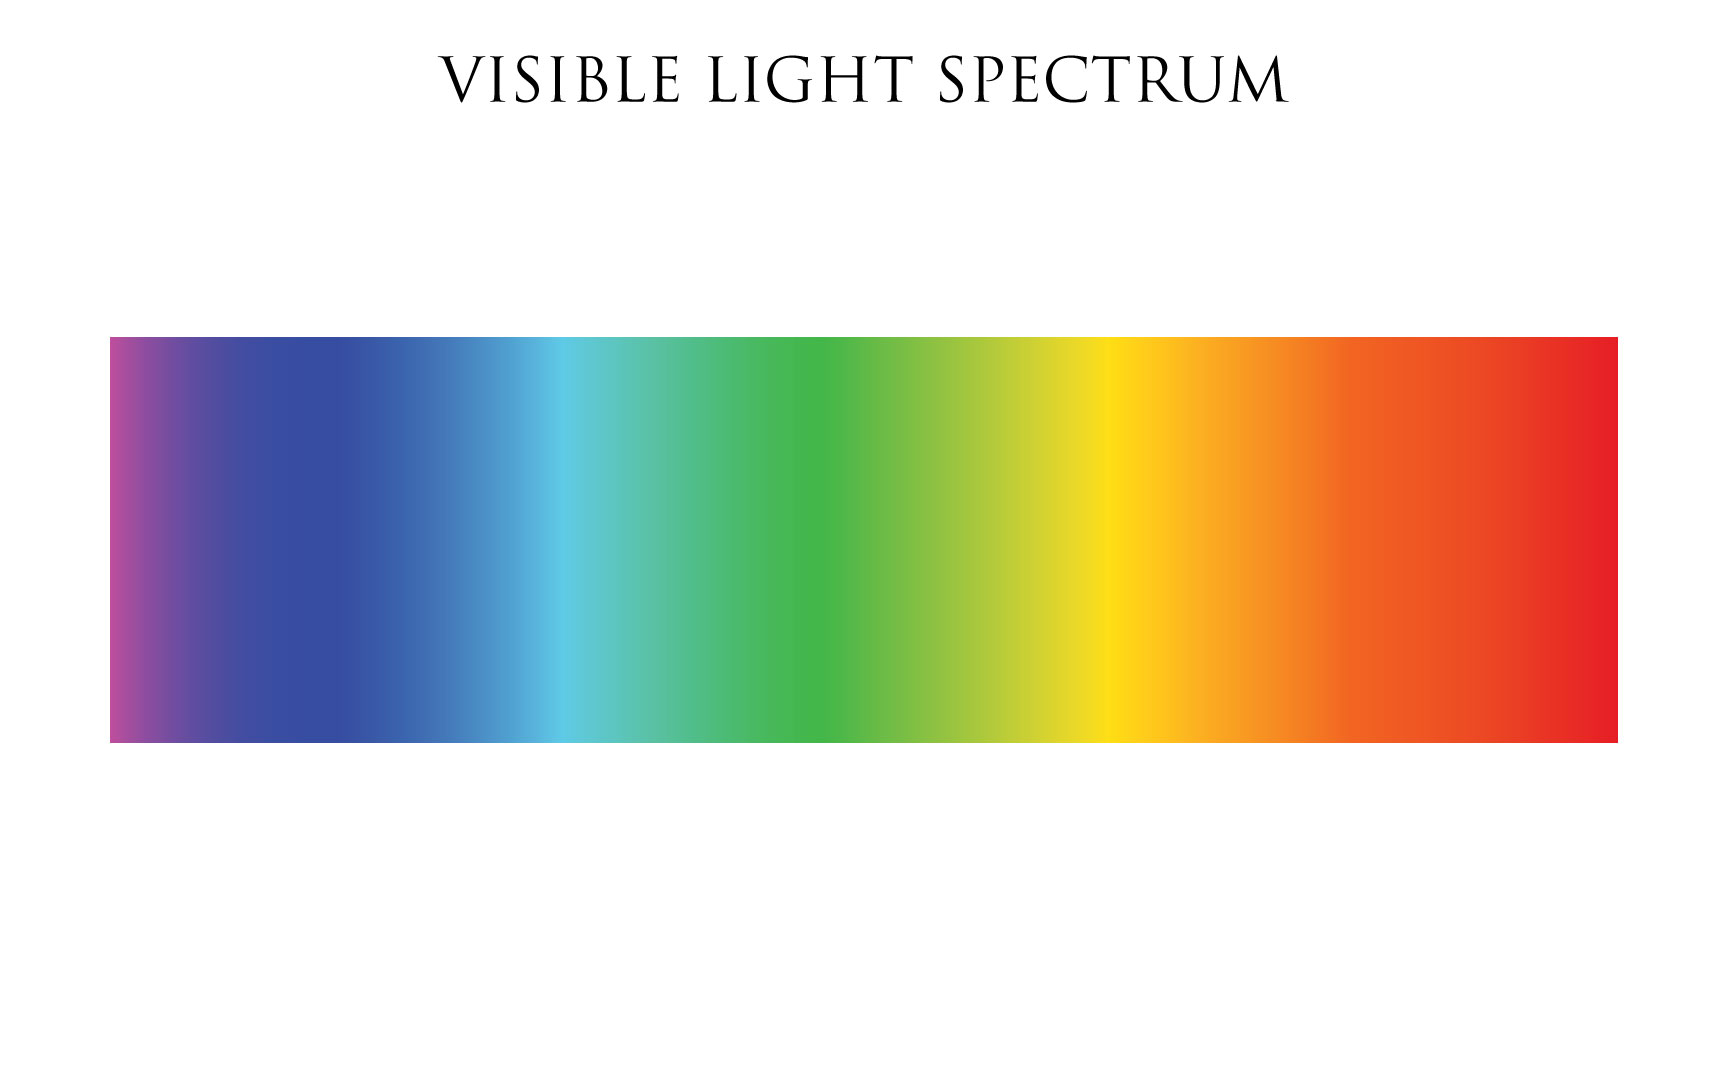
Anyways, it’s useful to note that the main ingredients sensitive to light in modern photo paper emulsions (Silver Chlorobromide) have a sensitivity to light that may go from violet, blue up to cyan, but not necessarily up to green and most definitely not up to red light.
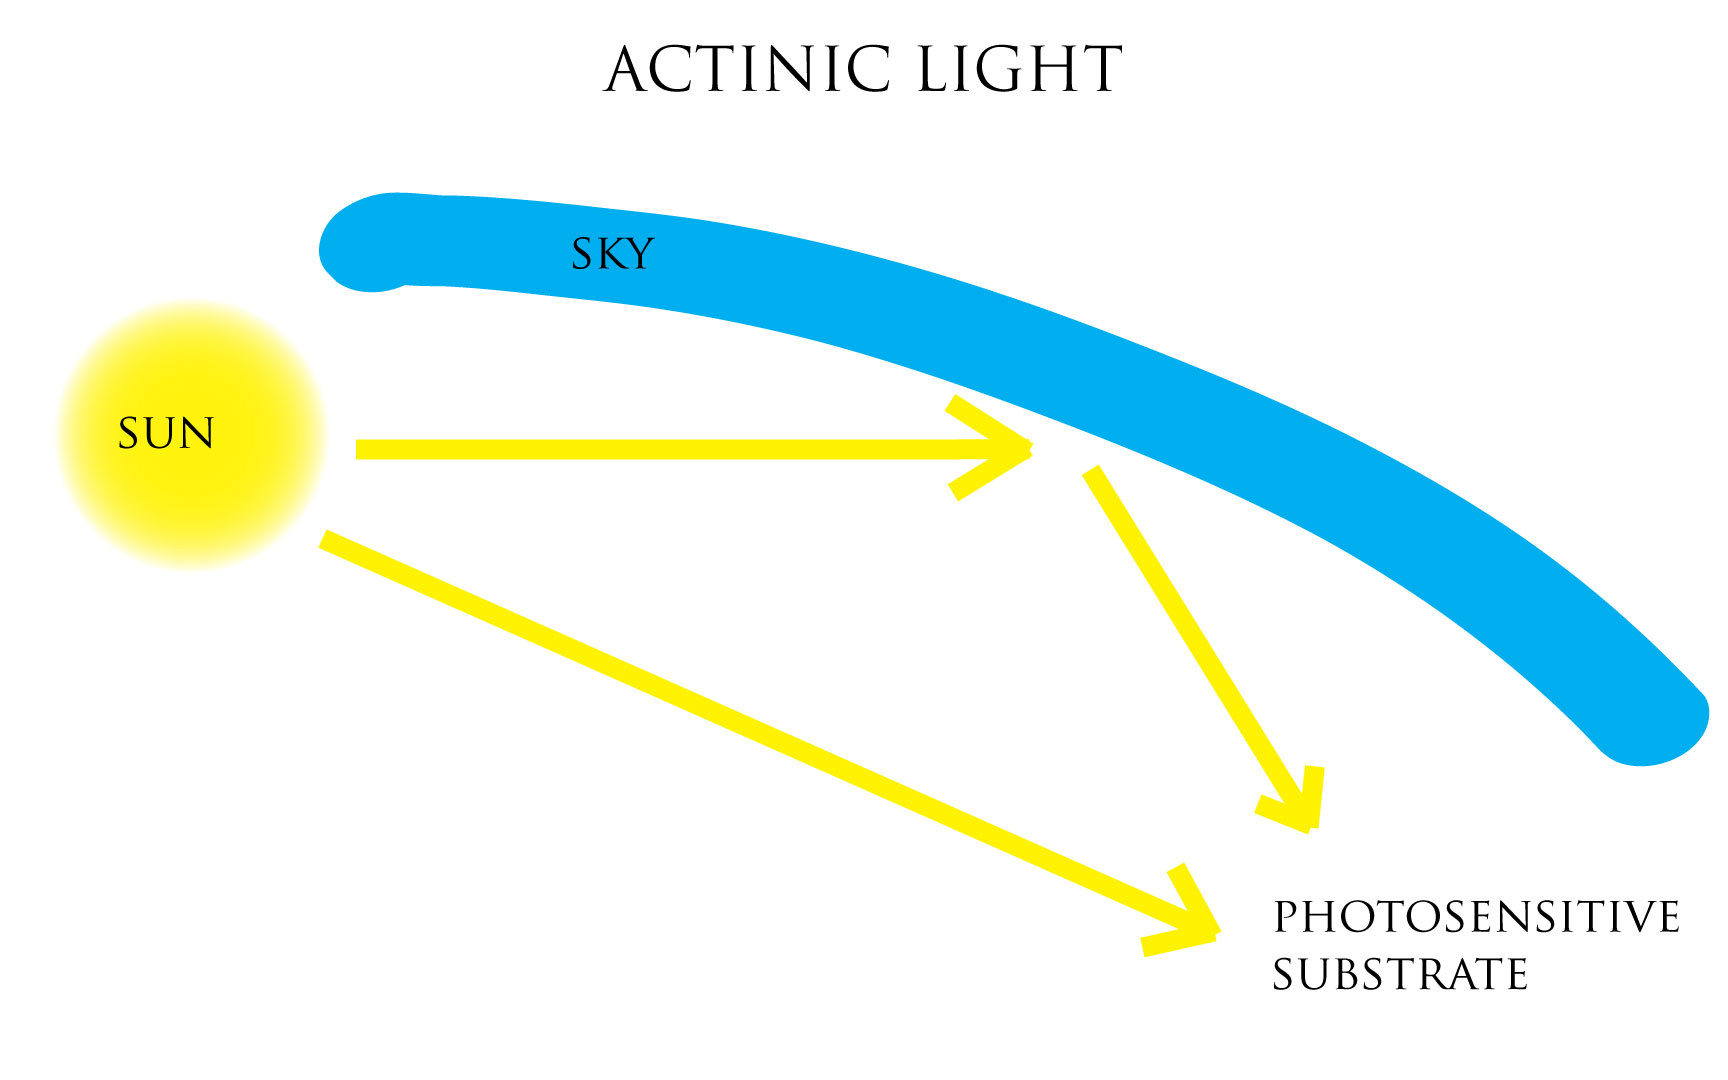
Blue light is called actinic light (the one that can activate, trigger a reaction), it is this very direct sun light (or sun light reflected onto blue skies) that triggered the conquest of the very first light sensitive emulsions in the early days of photography.
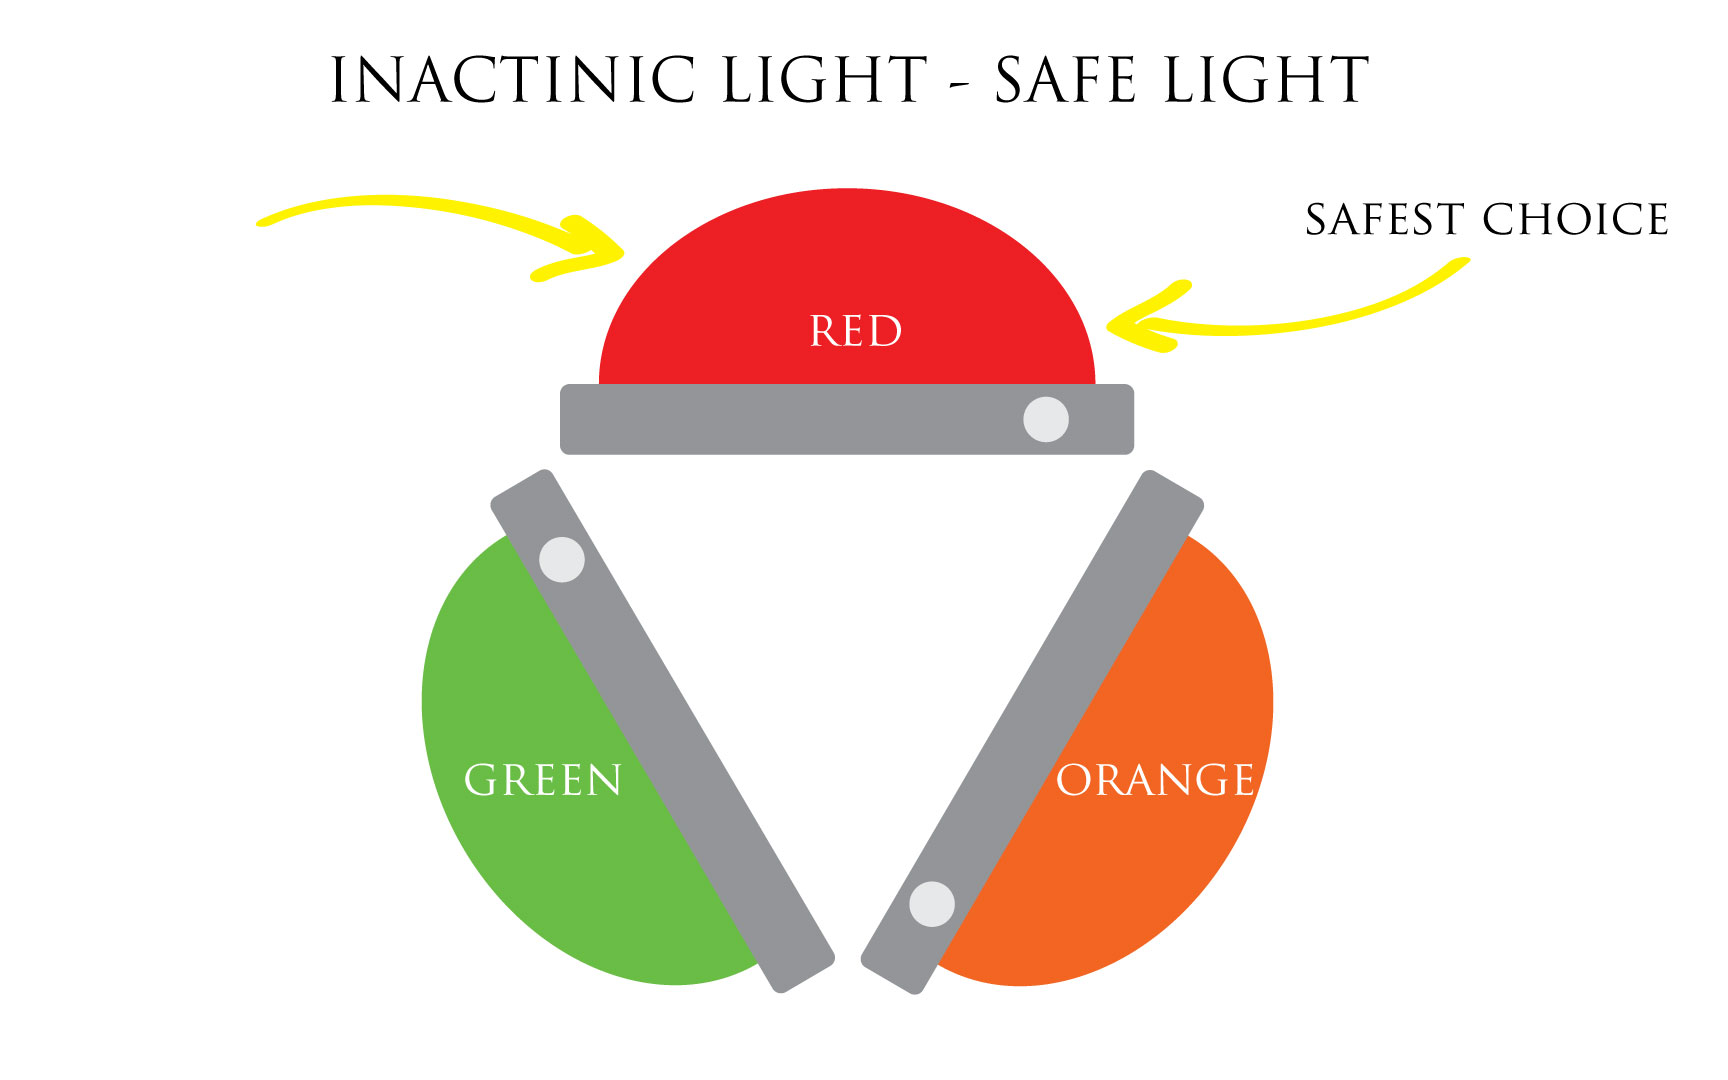
The inactinic light (the one that doesn’t activate or trigger a reaction) is at the opposite of the historically active light spectrum, it’s red light (opposite color to cyan, color of the sky).
Therefore an inactinic light, the one that doesn’t risk to fog our paper, also called safe light in the darkroom, is red, sometimes orange, more rarely green (modern emulsions don’t like green because their emulsion is bit more complex…).
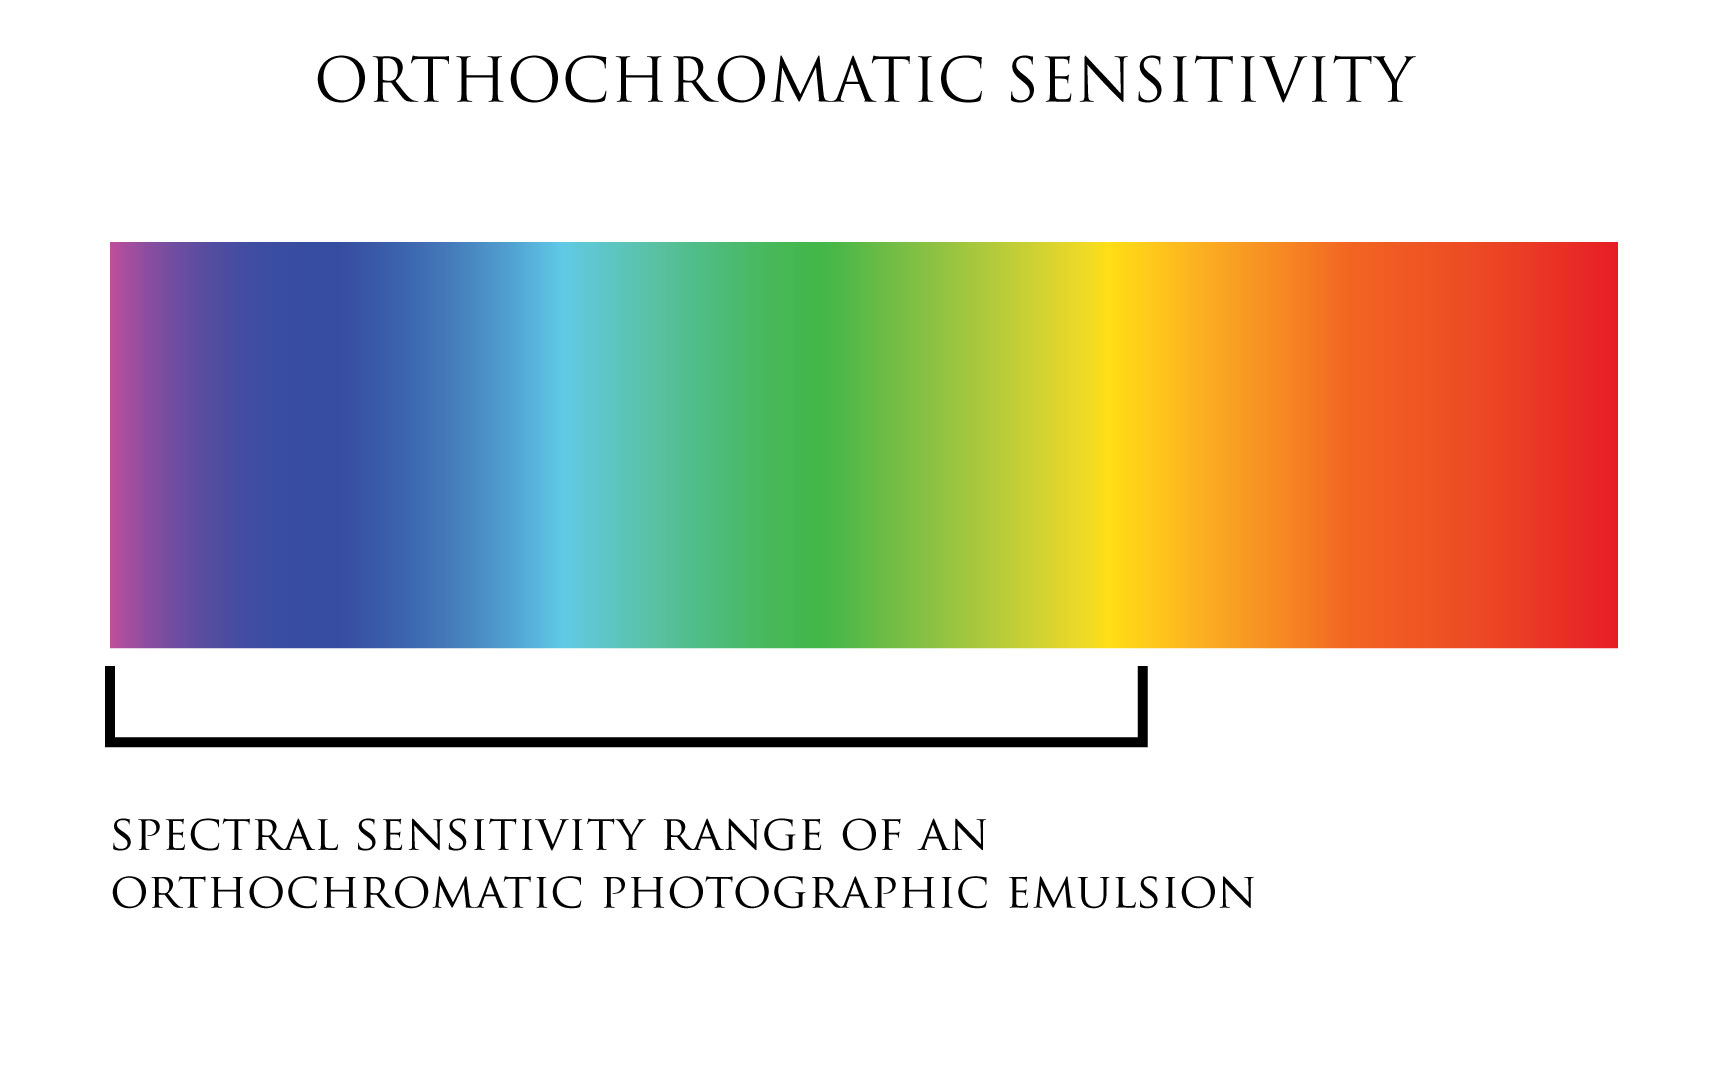
A photographic emulsion sensitive to blue or green light (from violet to yellow) is called orthochromatic, it can be handled under red light without being damaged or fogged.
Black and white photographic papers are orthochromatics i.e. they are insensitive to red light.
B. Color casts, tints and tones
Three points need to be distinguished: emulsion tint, paper color cast and the color of blacks or the tone of blacks shall we say (yes blacks have a color! it tends to be generally either cold -pointing towards blue- or warm -pointing towards brownish tones-).
So we can have a tinted emulsion on white paper, a non tinted emulsion on a paper that has a color cast (often warm i.e. cream), a tinted emulsion on a paper with a color cast etc… The classification of tints and casts is quite vague and is often reduced to a simple: warm tone paper, cool tone paper, neutral tone paper…
It is clear that the emulsion tint does impact the color/tone of the blacks (paper cast does not) because all the emulsion is affected by it. But these tints for the vast majority of them are subtle. When we want to give a more pronounced color to the blacks of a print, we do what is called a toning process. It’s a chemical process whereby only the dark parts of the print get a slight or heavy coloration. The light parts of the print remain only dependent on the tint of the emulsion and the color cast of the paper.
C. Paper type
There are two families of paper:
Resin Coated Paper or RC paper: the paper is enclosed in a sandwich of polyethylene layers before receiving the emulsion layer on top of the sandwich.
- Pros: during paper processing the paper doesn’t get soaked nor impregnated with chemicals, so it is easier to wash because only the emulsion coating, which is very water permeable, needs to be thoroughly rinsed. Since no chemicals are trapped in the paper, there’s no fear of it degrading over time from these chemicals left-overs. These are relatively cheap papers.
- Cons: polyethylene is not very stable and may degrade over time, so these papers are not considered “archival” i.e. made to endure the ravages
Fiber Base paper, FB paper or Baryta paper: the paper is entirely made of cellulose fiber (*) plus a layer of Barium Sulfate (and strontium sulfate). Barium sulfate function is two folds:
- It reflects light helping in creating a brighter image
- It prevents paper impurities to migrate in (and damage) the emulsion gelatin
It’s the height of photographic paper for exhibition works.
- Pros: Deep blacks, devoid of plastics, due to the nature of the paper it is considered “archival”
- Cons: the paper not being protected from chemicals during processing it needs to be rinsed excessively to avoid chemical attacks over time. It curls a lot when drying. It’s more expensive than RC paper.
(*) There are two types of cellulose fiber, short ones, the most widespread, relatively cheap, and long ones, more expensive, guaranteeing a better dimensional strength of the paper. Without explicit mention it’s best to consider short fibers are used. Long fibers are named “cotton rag” (textile quality cotton) and should only come from reconditioned textile fibers to make paper. Processes that require a lot of steps and handling in a wet environment favor types of papers based this very criteria. But these are mainly for historic processes, quite different than the one we are discussing here.
D. Grades
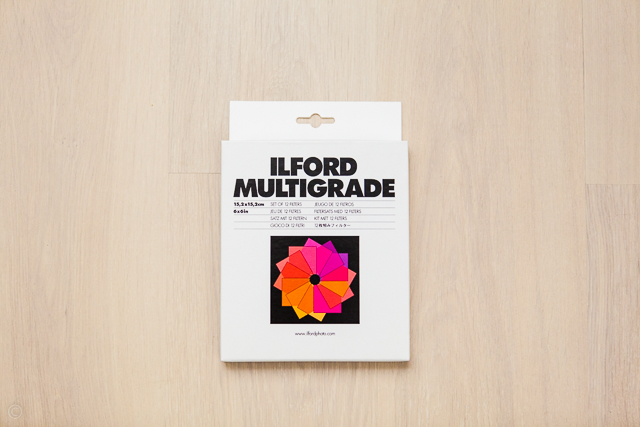
The contrast of a paper is linked to its emulsion formula, some papers have a heavy contrast, others have a light one. But fixed grade (or contrast) papers tend to disappear (only medium grades are still available) to the benefit of more modern emulsions as these allow for setting the desired grade or contrast level. These papers are called Variable Contrast papers, VC papers or Multigrade papers.
The grade scale informs on the intrinsic contrast level of the paper or the value we can choose in the case of Variable Contrast papers. Le scale goes in half grade steps
- from the lowest contrast: Grade 00
- to the highest contrast: Grade 5
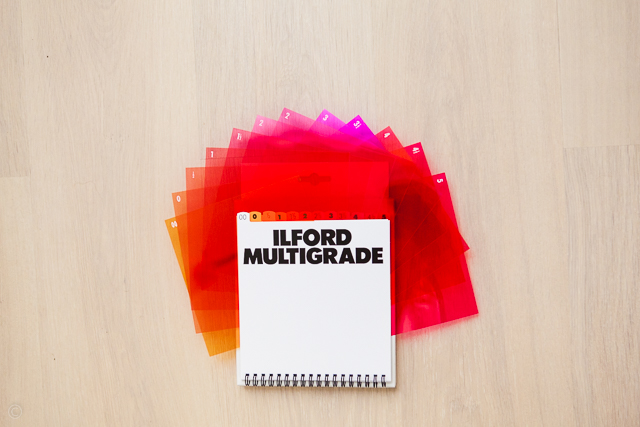
A complete grade scale with 12 grades: 00 – 0 – 0.5 – 1 – 1.5 – 2 – 2.5 – 3 – 3.5 – 4 – 4.5 – 5
How do Variable contrast Emulsion work?
The paper is coated with two or three layers of emulsion of equal contrast and sensitivity to blue light, but of different sensitivity to green light. So when exposed to blue light, all layers contribution sum up to a maximum contrast. But when exposed to green light, all layers will not necessarily react and the sum of all contributions will remain low, producing a low contrast image.
Therefore we can choose the paper contrast with varying degrees of blue to green light ratio. It is then more obvious why all green “safe light” have disappeared from darkrooms nowadays…
With regards to the light used to exposed the paper, two methods are employed to obtain the desired grade:
- Using a filter set to change the color of the light
- Using a light source fitted with a device allowing for color output adjustments
In case 1. we use a grade filter set made for this purpose such as the one below:
Filters work with color oppositions, for instance the opposite color to green is magenta. So a magenta filter will let magenta light go through but not green light, it’s actually why the magenta filter appears magenta to our eye. Therefore with a magenta filter we have a heavy contrast (the blue light will make all emulsion layers react).
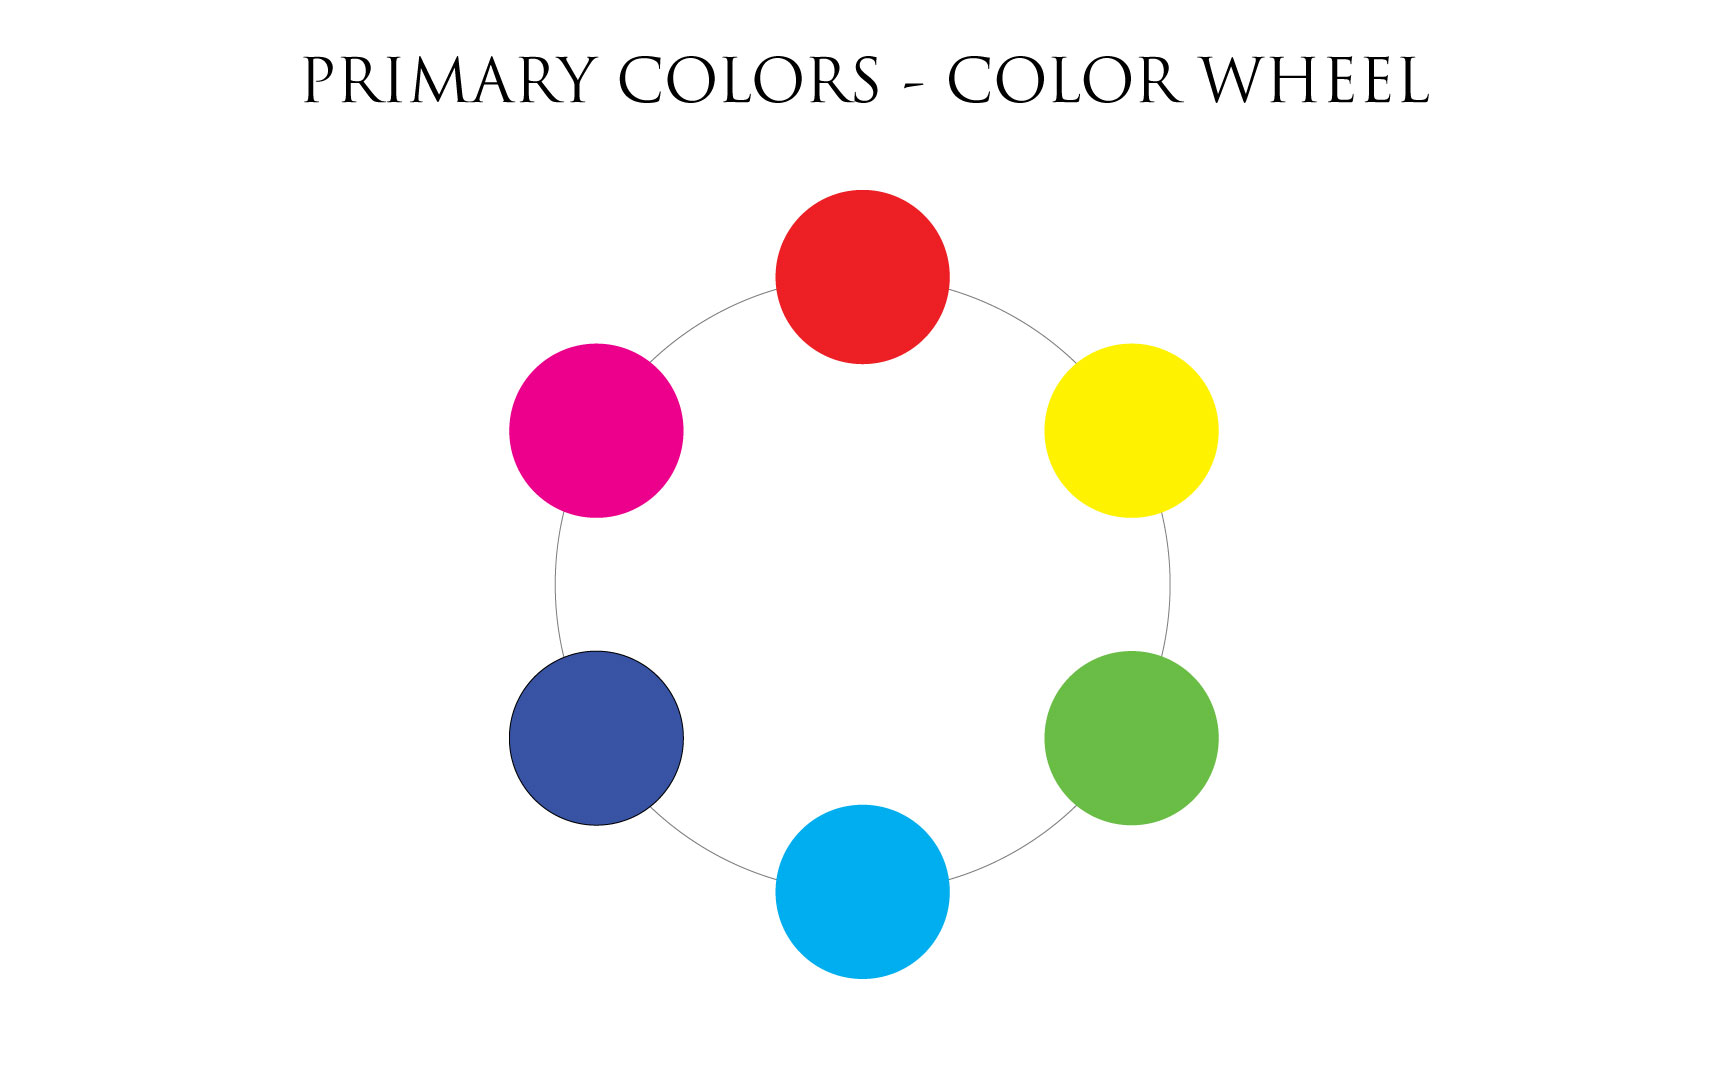
The substraction of a color from the spectrum make the opposite color appear as dominant, hence a yellow filter blocks blue light. So the filter corresponding to the lowest contrast will be of yellow color, because blue light being blocked, only the green light will be able to make those emulsion layers react.
Now we know which type of safe light we may want to retreive from a garage sale. Green for working like old-timers on Silver Chloride papers for instance, but it has become almost impossible unless coming across an old stock by shear luck. Red for working with modern emulsion papers.
Also we can now understand the the differences and the reason of being of RC papers and FB Baryta papers to make a sound choice on the basis of the intended work. To get the hang of the process, as a beginner, Variable Contrast RC papers are the obvious choice. Owing to its ease of use and its cost, it’s the best tool for the “young apprentice”, or even, say: the old grumpy… Sad I know, cannot be not young without being not grumpy…
Now we are all set for printing!


